Opening Your First Codespace
This process is like walking into the library and turning on a computer. Start from your forked repository, then create a fresh, temporary environment in the cloud.
Steps
Click the green Code button
- This button is usually for downloading files, but we are using it to launch a computer.

Code button Click the Codespaces tab
- Crucial Choice: You will see two tabs: “Local” and “Codespaces.”
- Local: Means downloading to your own messy laptop (Hard mode).
- Codespaces: Means using the pre-installed cloud computer (Easy mode). Always choose this.
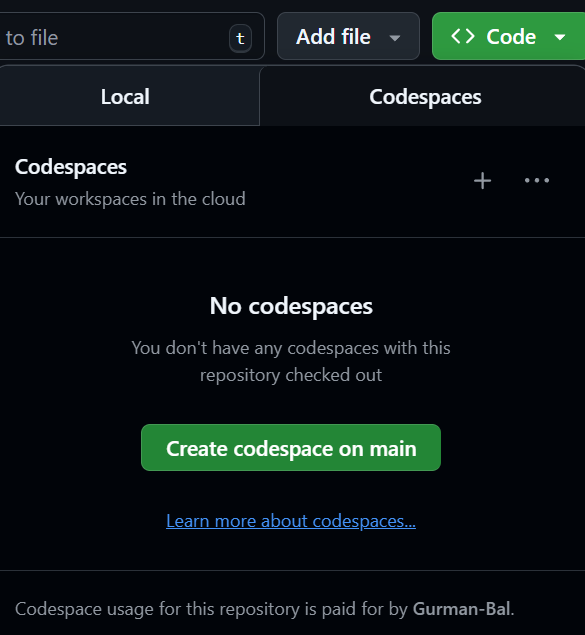
Codespaces tab Click Create Codespace on main
- This tells GitHub to build a new computer for you from scratch.
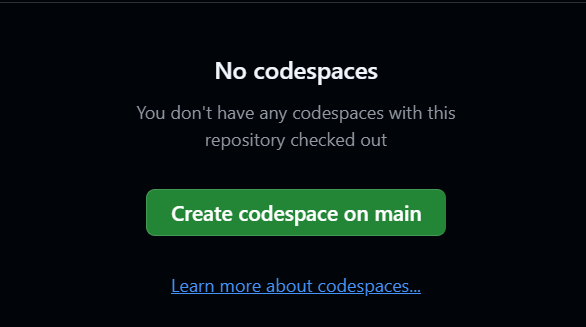
Create Codespace
The “Boot Up” Phase
Wait 2–3 minutes.
- What is happening? GitHub is silently installing R, Python, Quarto, and all the course libraries for you.
- The Analogy: Think of this as the “ventilation system” starting up in a lab. It takes a moment to get the environment ready.
Success: You should see VS Code (a dark-themed code editor) appear in your browser window.
NoteThe TOOLCHAIN SELF-TEST
The setup runs automatically — you do not need to start anything. Near the end of the build, a block titled TOOLCHAIN SELF-TEST prints in the terminal. It lists version numbers for R, Quarto, and Python, then runs quarto check.
- If you do not see it (or scrolled past it): open the Command Palette (
F1) and run Codespaces: View Creation Log to see the full build output. - If the self-test shows errors: do not try to install software yourself. Rebuild the environment instead — see Troubleshooting: Rebuild Container — and ask for help if it still fails.